I was quite young when I started collecting toys. With all those dolls, accessories, and miniatures available in stores, I just can't help but buy stuff which I think were nice for my collection. However, when I went to college, I was forced to stick to a personal budget since I was away from home most of the time. That was when I realized how much money I have put to waste buying stuff I didn't really need or things that I could most definitely make on my own like these miniature boxes for my dolls. Some collectors pay for more than a dollar for just a piece of miniature boxes like these but when I discovered how much more I can save by just making them, I was quite thrilled.
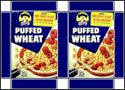
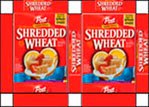
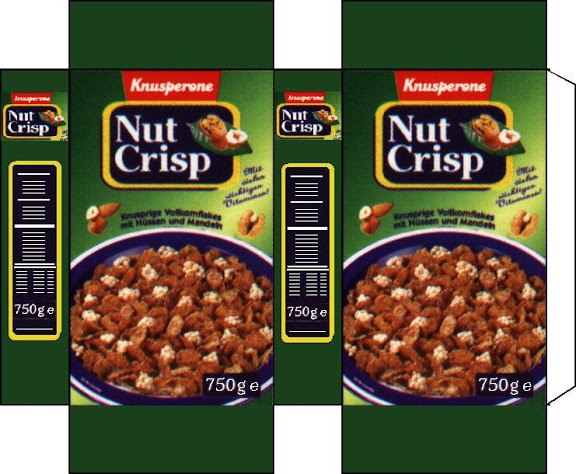
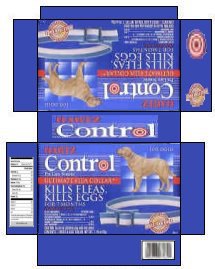
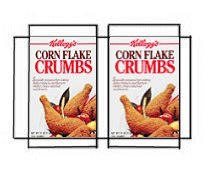
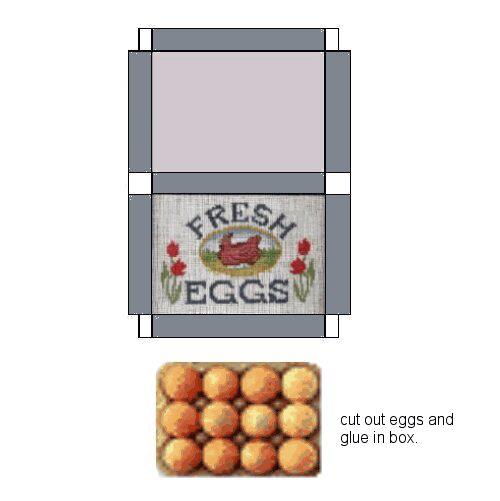
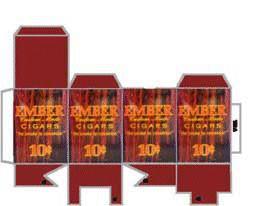
I started out by scanning empty boxes of cereals at home and then I made layouts with MS Paint for the extra folded portions. Re-sizing them were difficult though since doll sizes are quite tricky but in the end, I was quite satisfied with my work. I have tried printing them on photo paper and card board paper but the quality would also depend on your printer.
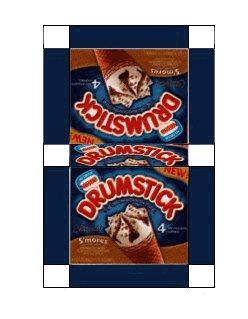
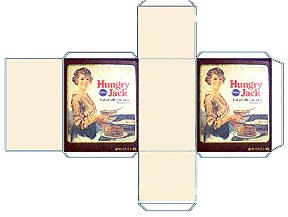
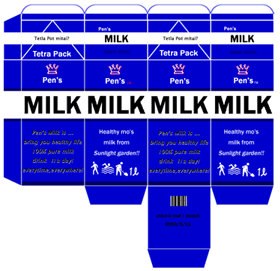
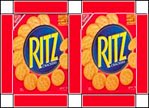
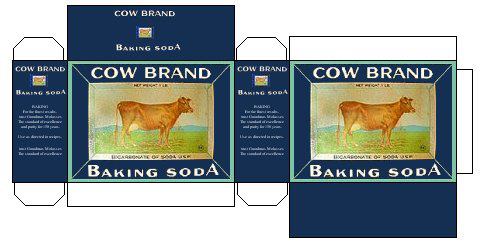
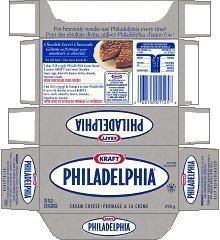
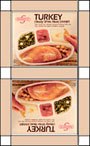
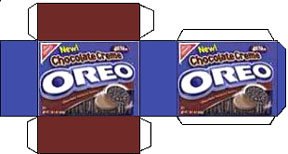
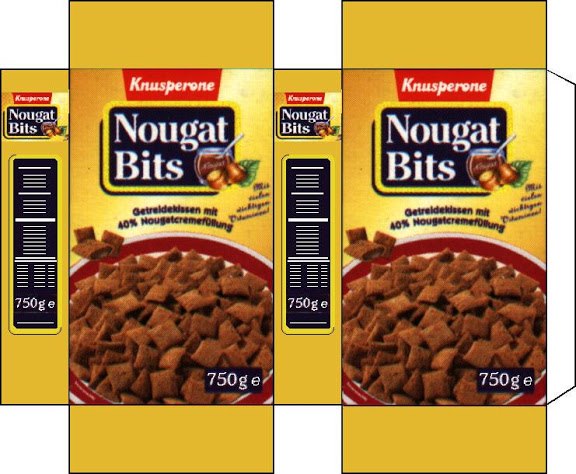
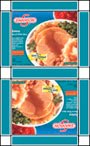
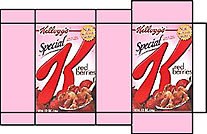
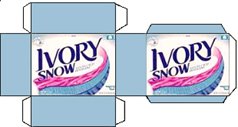
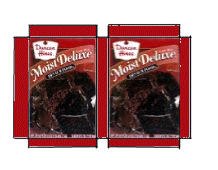
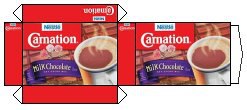
Below are some FREE Miniature Printable Templates which I have made and some which I got from friends in the U.S. Feel free to copy and use them for your next doll diorama projects. I'll be posting more printable stuff on my site every now and then so stay tuned. ☺
I started out by scanning empty boxes of cereals at home and then I made layouts with MS Paint for the extra folded portions. Re-sizing them were difficult though since doll sizes are quite tricky but in the end, I was quite satisfied with my work. I have tried printing them on photo paper and card board paper but the quality would also depend on your printer.
Below are some FREE Miniature Printable Templates which I have made and some which I got from friends in the U.S. Feel free to copy and use them for your next doll diorama projects. I'll be posting more printable stuff on my site every now and then so stay tuned. ☺


 RSS Feed